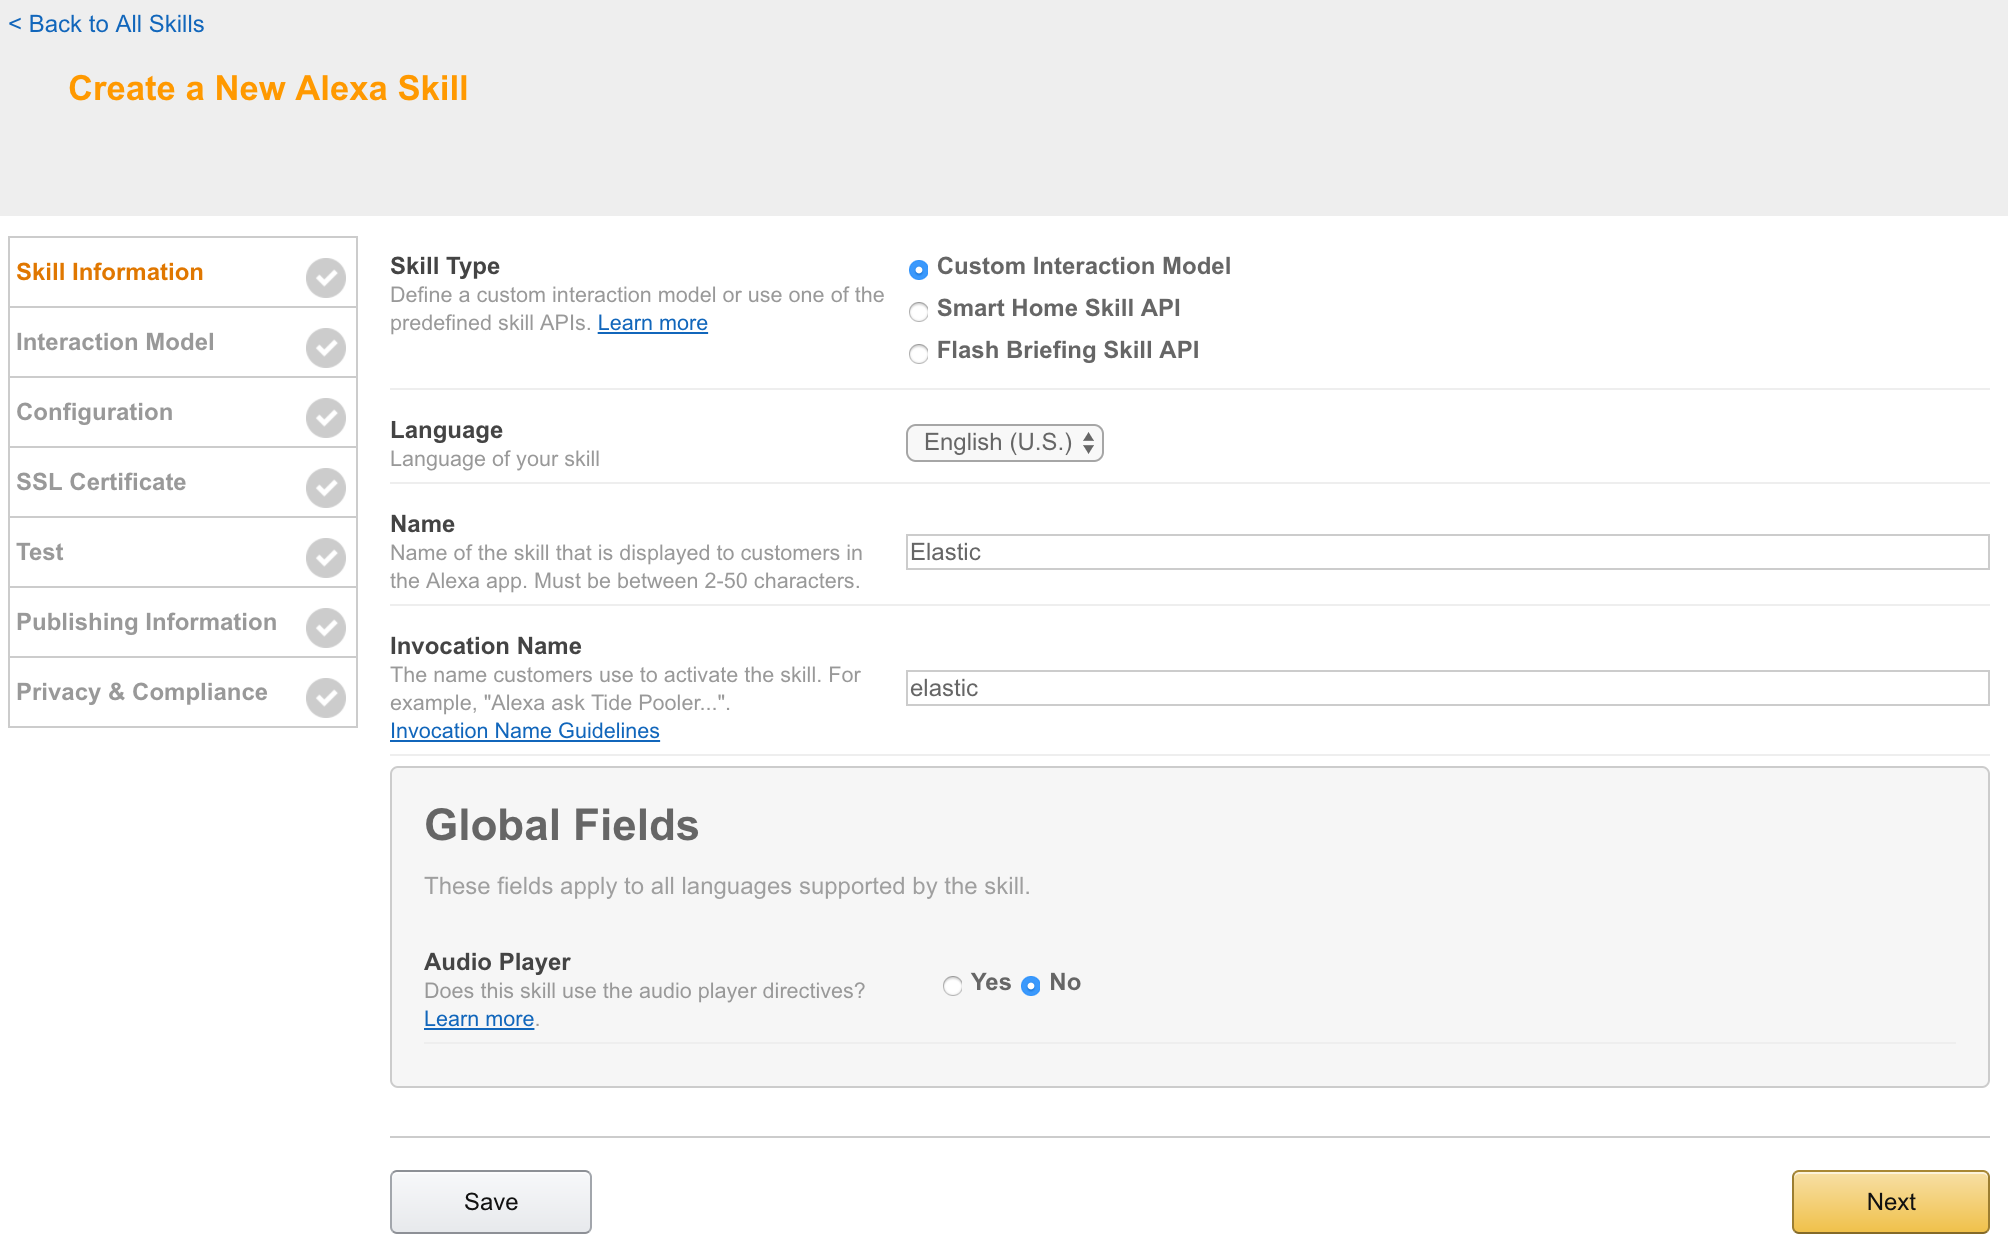
Skill for Amazon echo to enable Alexa to talk to Elasticsearch.
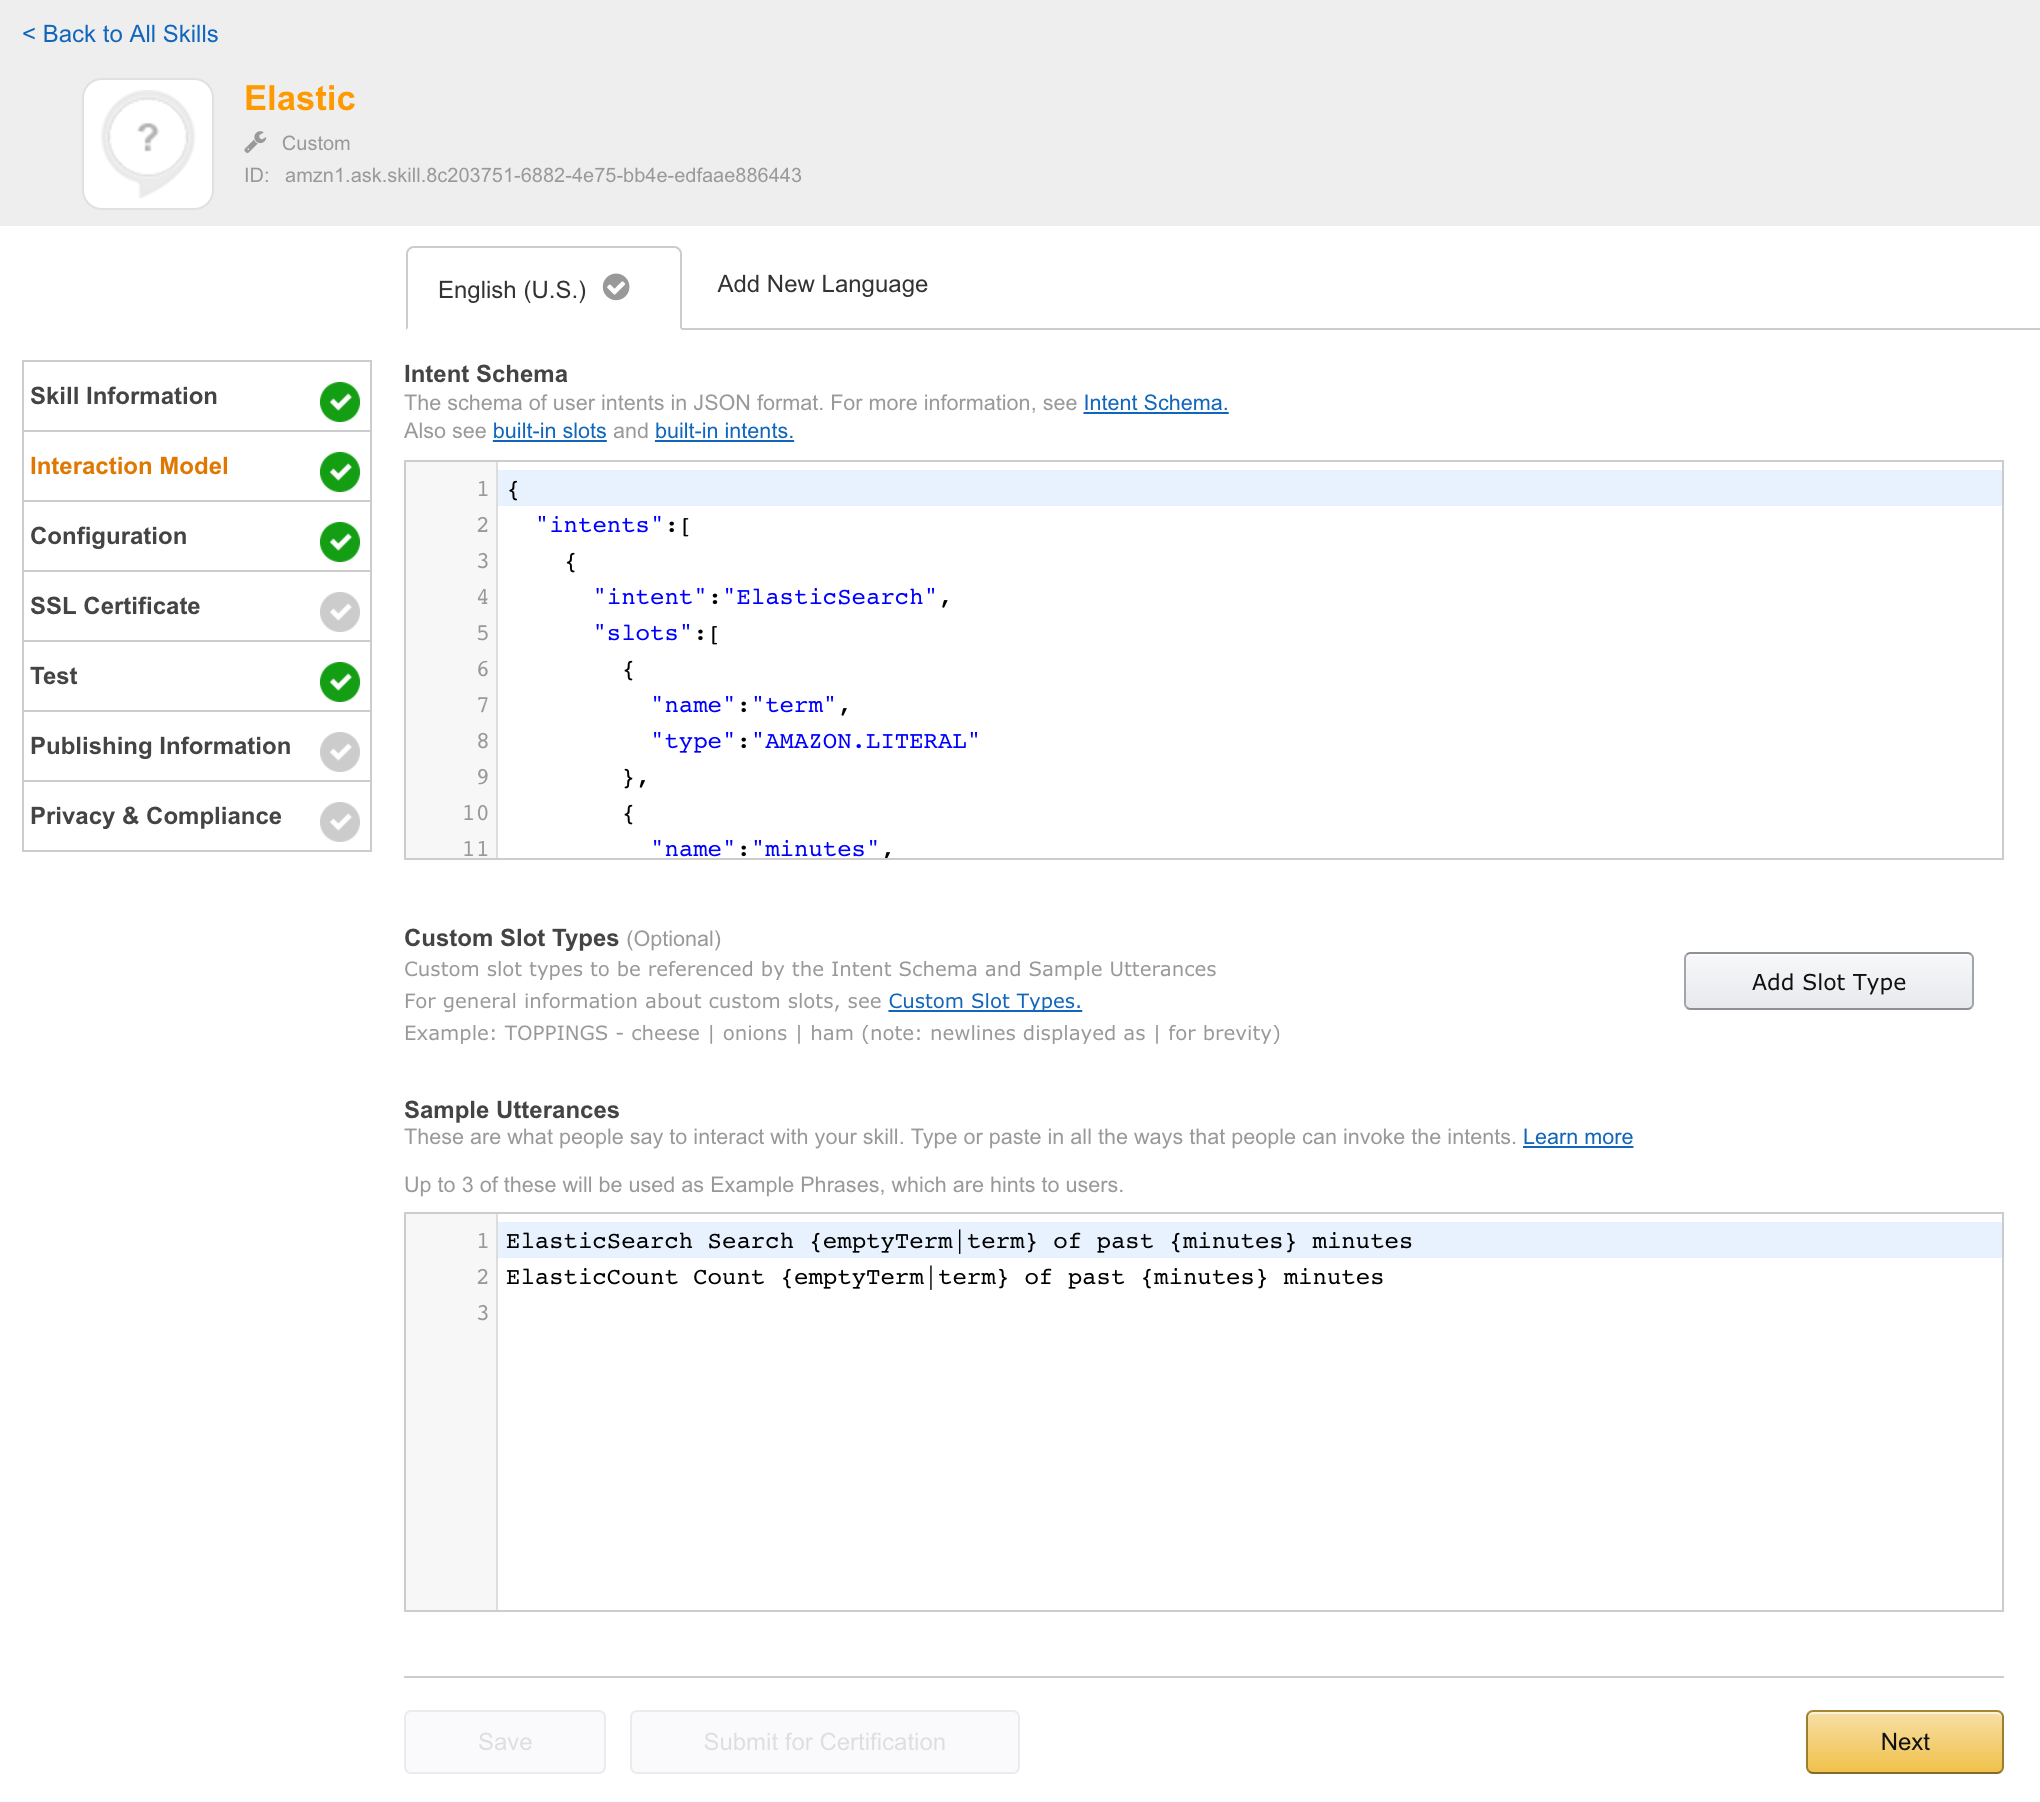
Configured IntentSchema:
ElasticCount Count {emptyTerm|term}
Explanation:
- Search for term in elasticsearch and count result set
Example:
Alexa? Ask Elastic to count error
is transformed to skill (intent) and variable configuration (slots):
intent=ElasticSearch
slot(term)=error
Note: Data type number can be translated from five to 5 directly.
Amazon provided a nice SDK and a nice way to interact with alexa. After registering your skill to amazon developer console, your endpoint get called with relevant payload. I decided to use a spring boot application handling these requests. Java code is in src, relevant business logic is included in
src/main/java/info/unterstein/alexa/elastic/alexa/ElasticSpeechlet.java
Currently you need to configure the target ElasticSearch cluster within code. This should be changed to be configured during installing this skill to amazon echo, see section Option issues.
But, for now, you need to go to
src/main/java/info/unterstein/alexa/elastic/ElasticSpeechlet.java
and do something like:
  // TODO
  public ElasticSpeechlet.java() {
    client = new ElasticSearchClient("your.elastic.url", 9300, "your.cluster.name");
  }
Then you need to package this app and start it somewhere:
mvn clean package
# deploy it somewhere with following command
java -jar elastic-alexa-0.0.1-SNAPSHOT.jar --server.port=19002


Text entered:
speechAssets/IntentSchema.json
speechAssets/SampleUtterances.txt

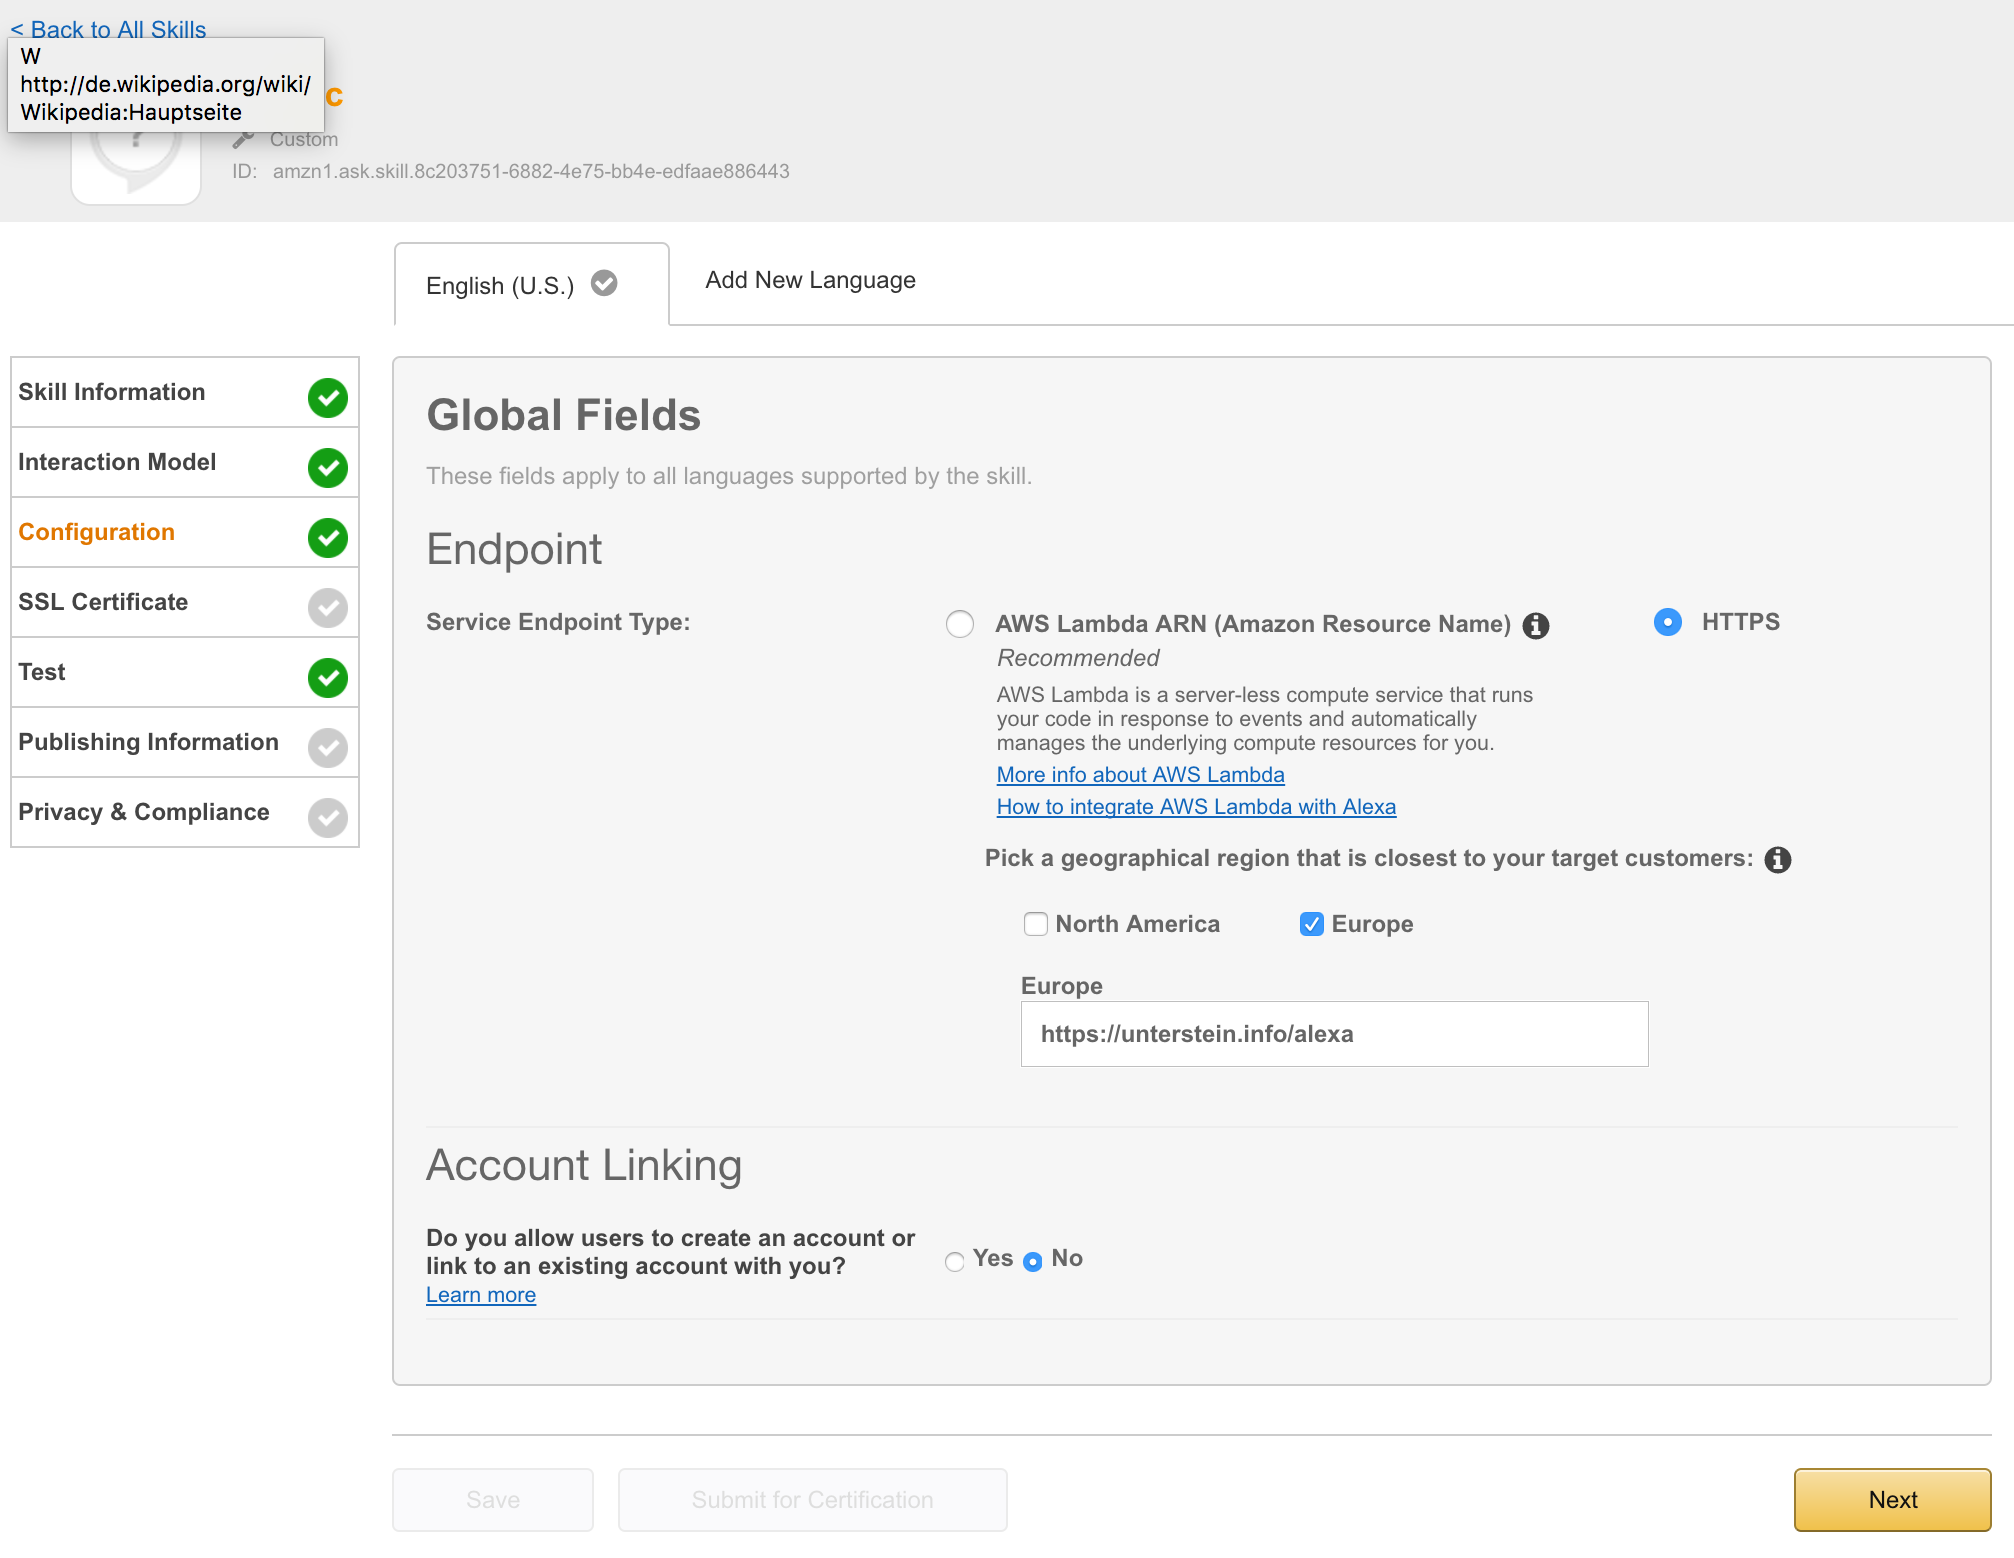
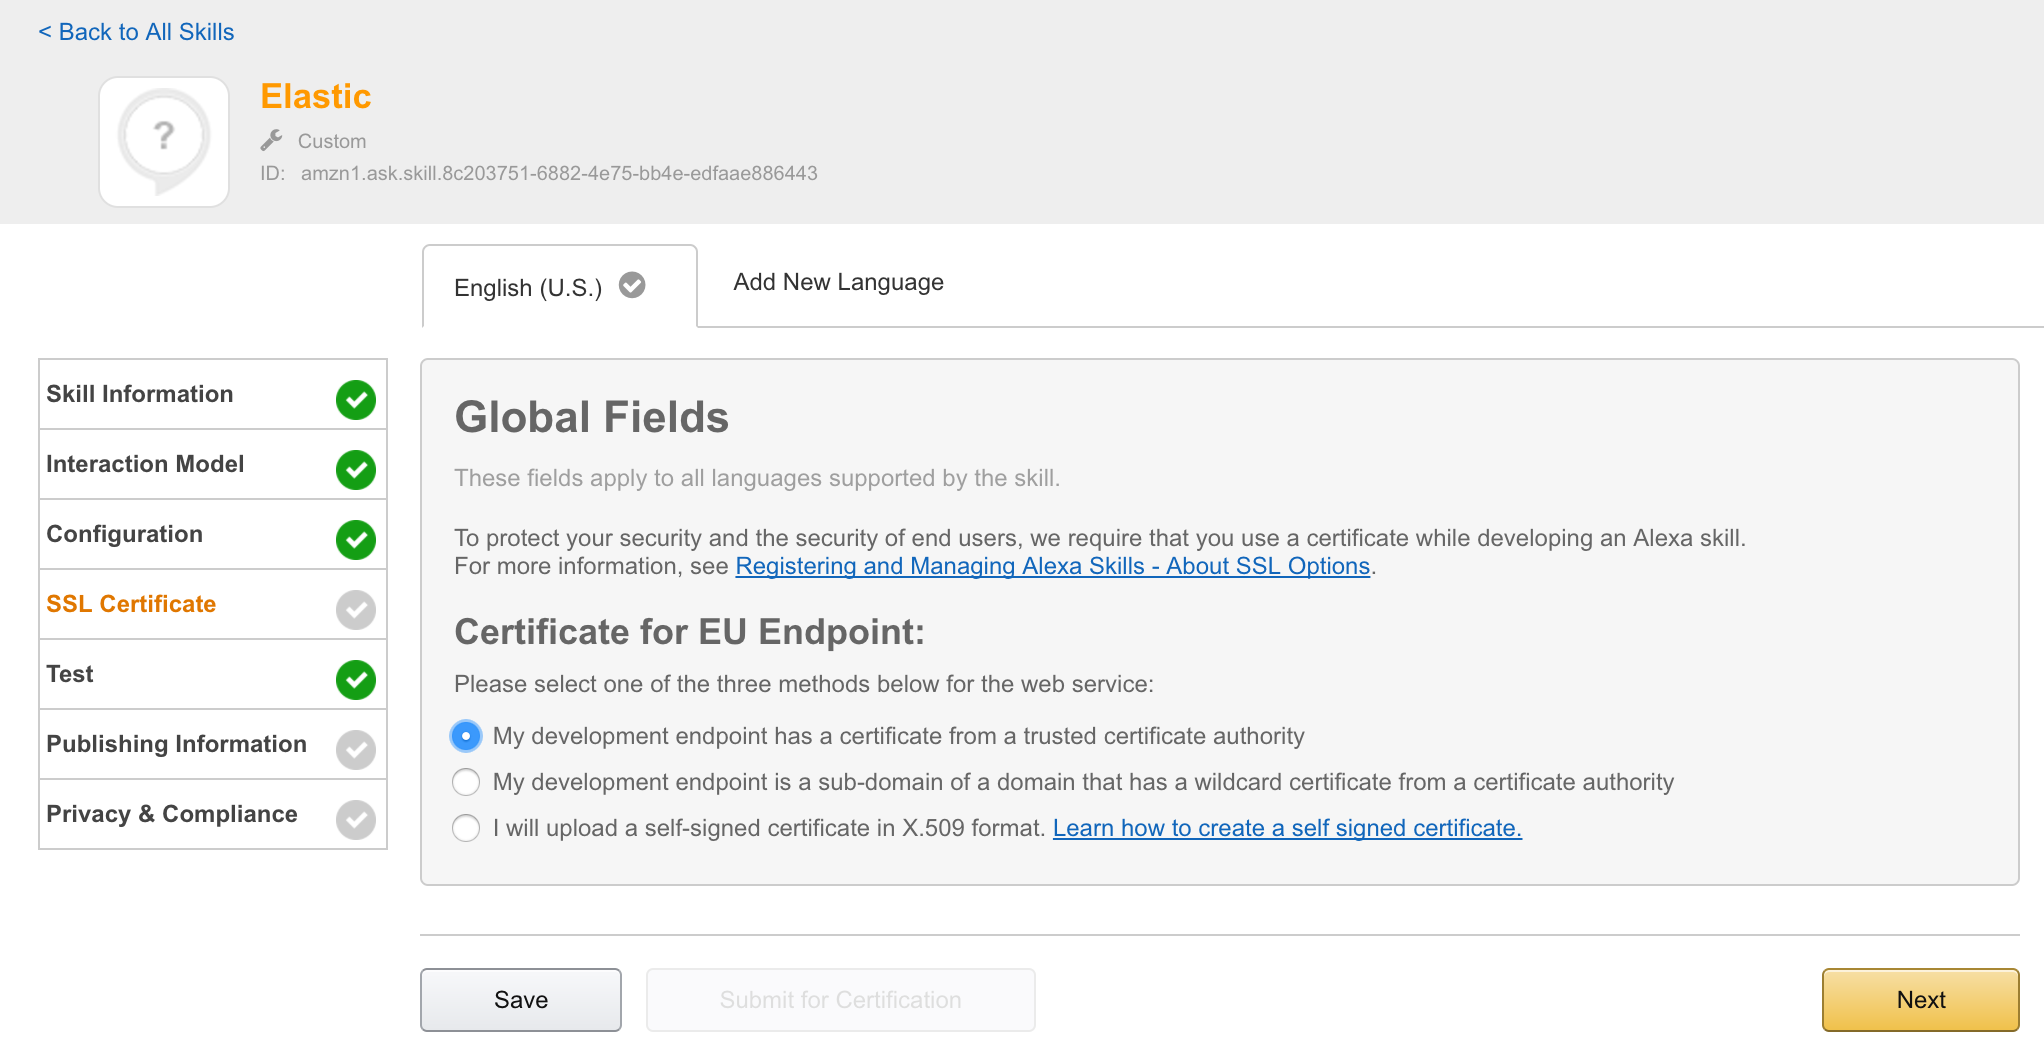
I needed an http endpoint with valid ssl certificate. You can choose between onprem installation or AWS lamba. I decided to deployed the app directly to my server, proxied behind NGINX using the following configuration:
server {
        listen 443 ssl;
        server_name unterstein.info;

...

        ssl_certificate      /etc/nginx/ssl/unterstein.info.crt;
        ssl_certificate_key  /etc/nginx/ssl/unterstein.info.key;

...

        location /alexa {
                proxy_pass http://127.0.0.1:19002/alexa;
                proxy_set_header Host $host;
                proxy_set_header X-Real-IP $remote_addr;
                proxy_set_header X-Forwarded-For $proxy_add_x_forwarded_for;
        }
}


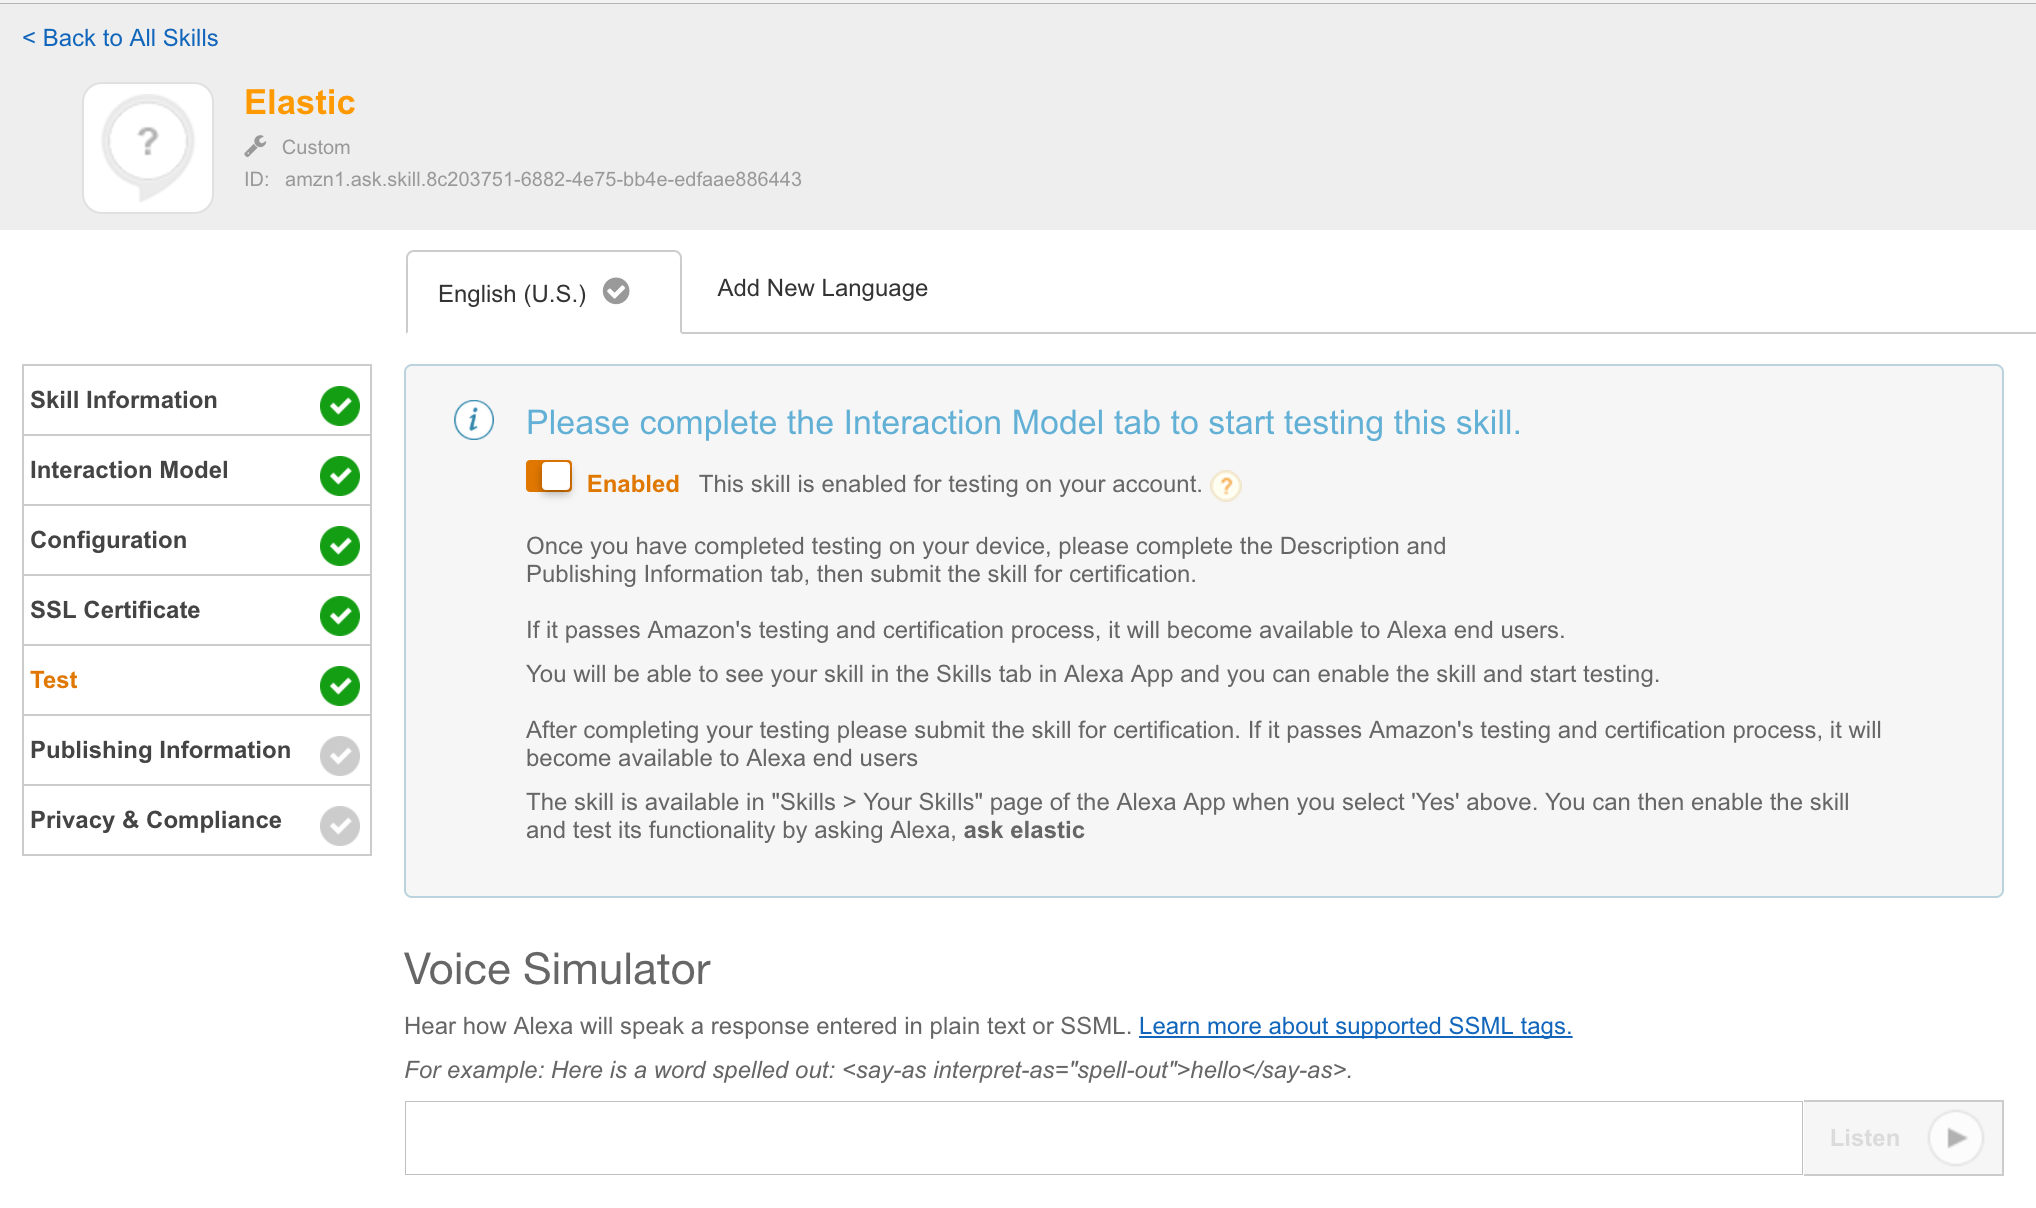
At this point it is possible to enable this skill for all amazon echos, registered to the current amazon account and can be used directly.
https://twitter.com/unterstein/status/832302202702196736
- Make skill configurable so that each user (amazon account) can configure his own ElasticSearch cluster and credentials during skill installation. Currently all users of this skill would talk to the same ElasticSearch cluster, which is .. not really cool :-/
- => See https://developer.amazon.com/public/solutions/alexa/alexa-skills-kit/docs/linking-an-alexa-user-with-a-user-in-your-system